Build Isometric Game Tiles with Scenario AI
Speed up isometric tile creation without sacrificing quality. Train a model on your art, prompt for variations, and export game‑ready tiles in minutes with Scenario.

Build Isometric Game Tiles with Scenario
Discover how to accelerate isometric tile production with Scenario. This practical workflow shows how to generate clean, consistent tiles, iterate on variants fast, and keep art direction tight across your maps.
We’re introducing a straightforward workflow, that dramatically speeds up how you produce and scale isometric tiles. By inpainting or training a custom model on your own references and guiding it with precise prompts, you can efficiently generate on‑style tile sets that align, tile, and ship quickly.

Isometric Buildings Generated On Scenario
Creating isometric tiles is slow without the right workflow
Until now, building tile sets often meant drawing every variant by hand. Artists carefully matched angles, tuned edges, and tweaked transitions, repeating this across grass, dirt, road, cliff, water, and countless hybrids. Even small changes compounded into hours of work. It gave full control, but didn’t scale when you needed dozens or hundreds of variations.
Scenario changes that. With a model trained on your style, you can branch from a few solid bases into many consistent tiles, without sacrificing structure, seams, or cohesion.
Workflow A: Train a custom model
Prepare a small reference set
Curate 8–20 tiles that reflect your art direction. Include straight edges, corners, and transitions you like. Aim for consistent perspective, lighting, and resolution.
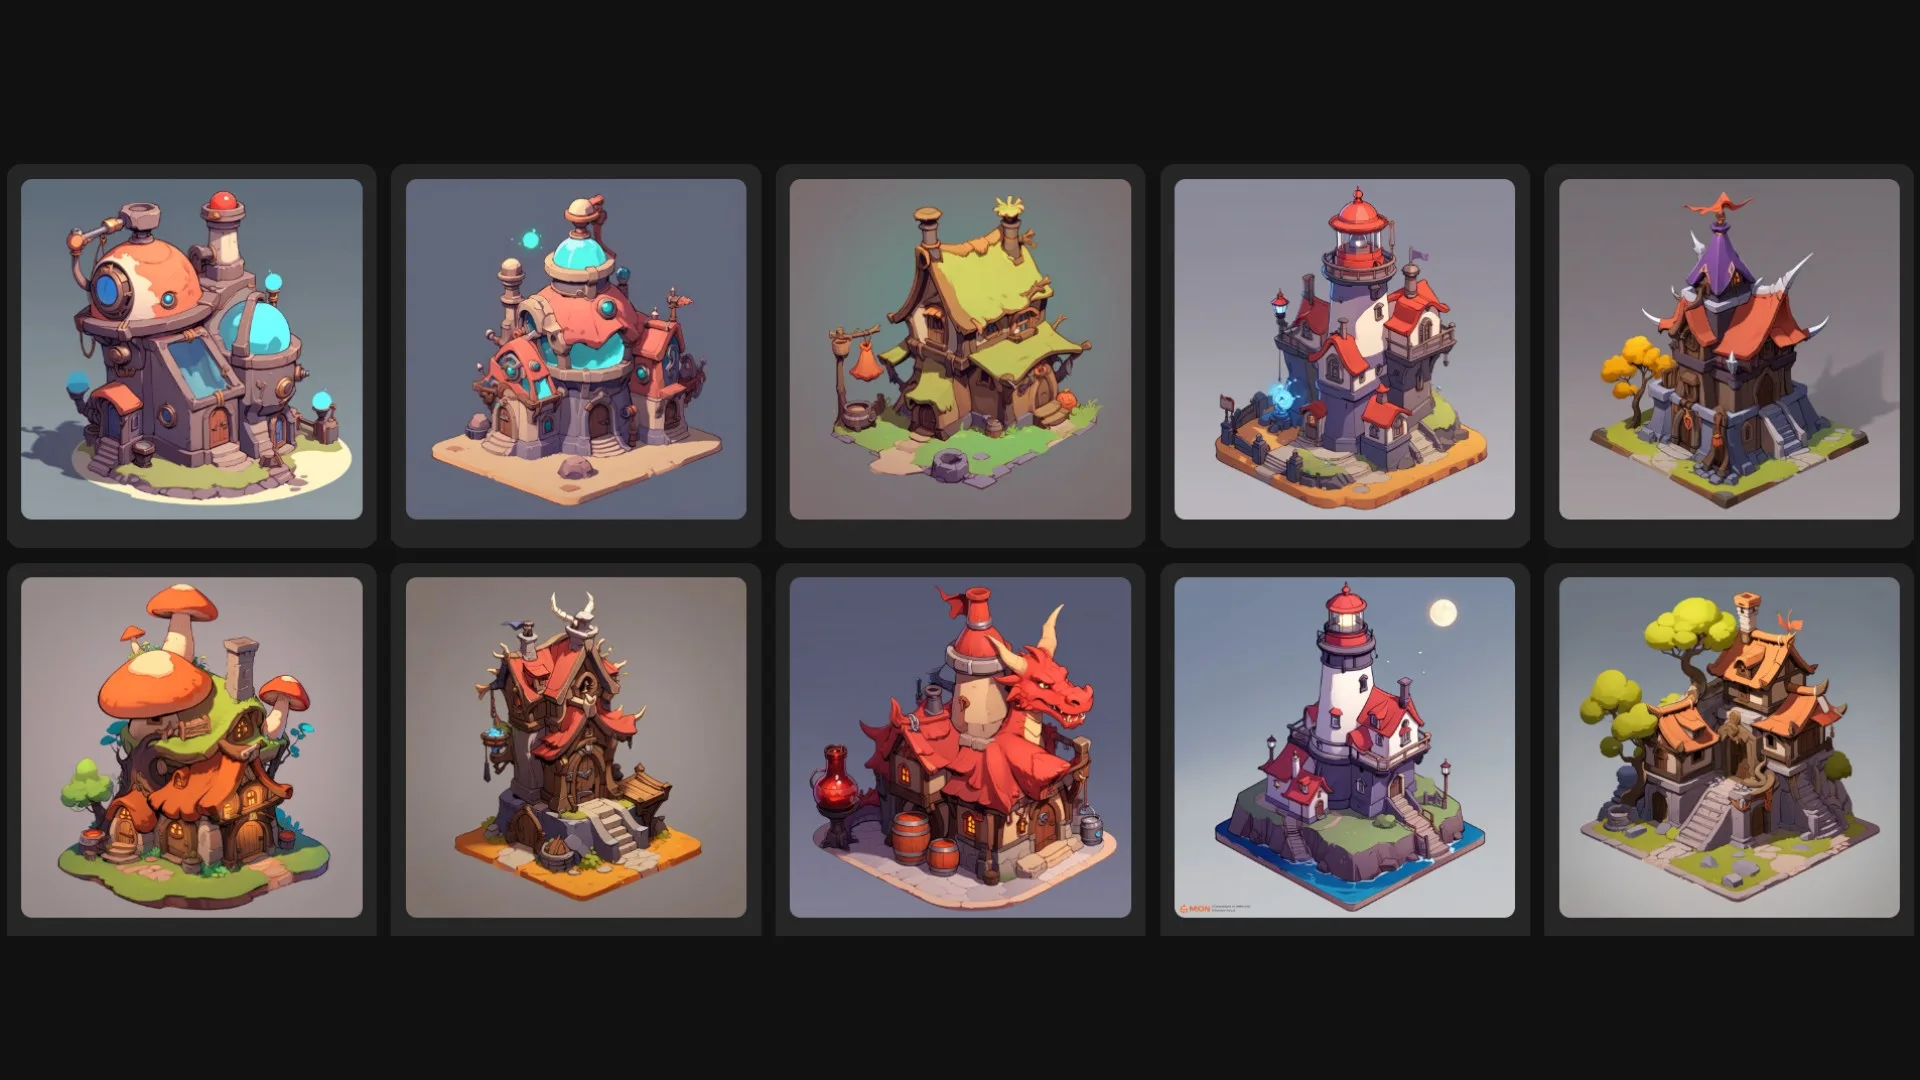
Isometric Building Dataset For Model Training In Scenario
Train a custom model on Scenario
Upload your references and train. Clean, consistent inputs yield the best outputs and reduce rework.
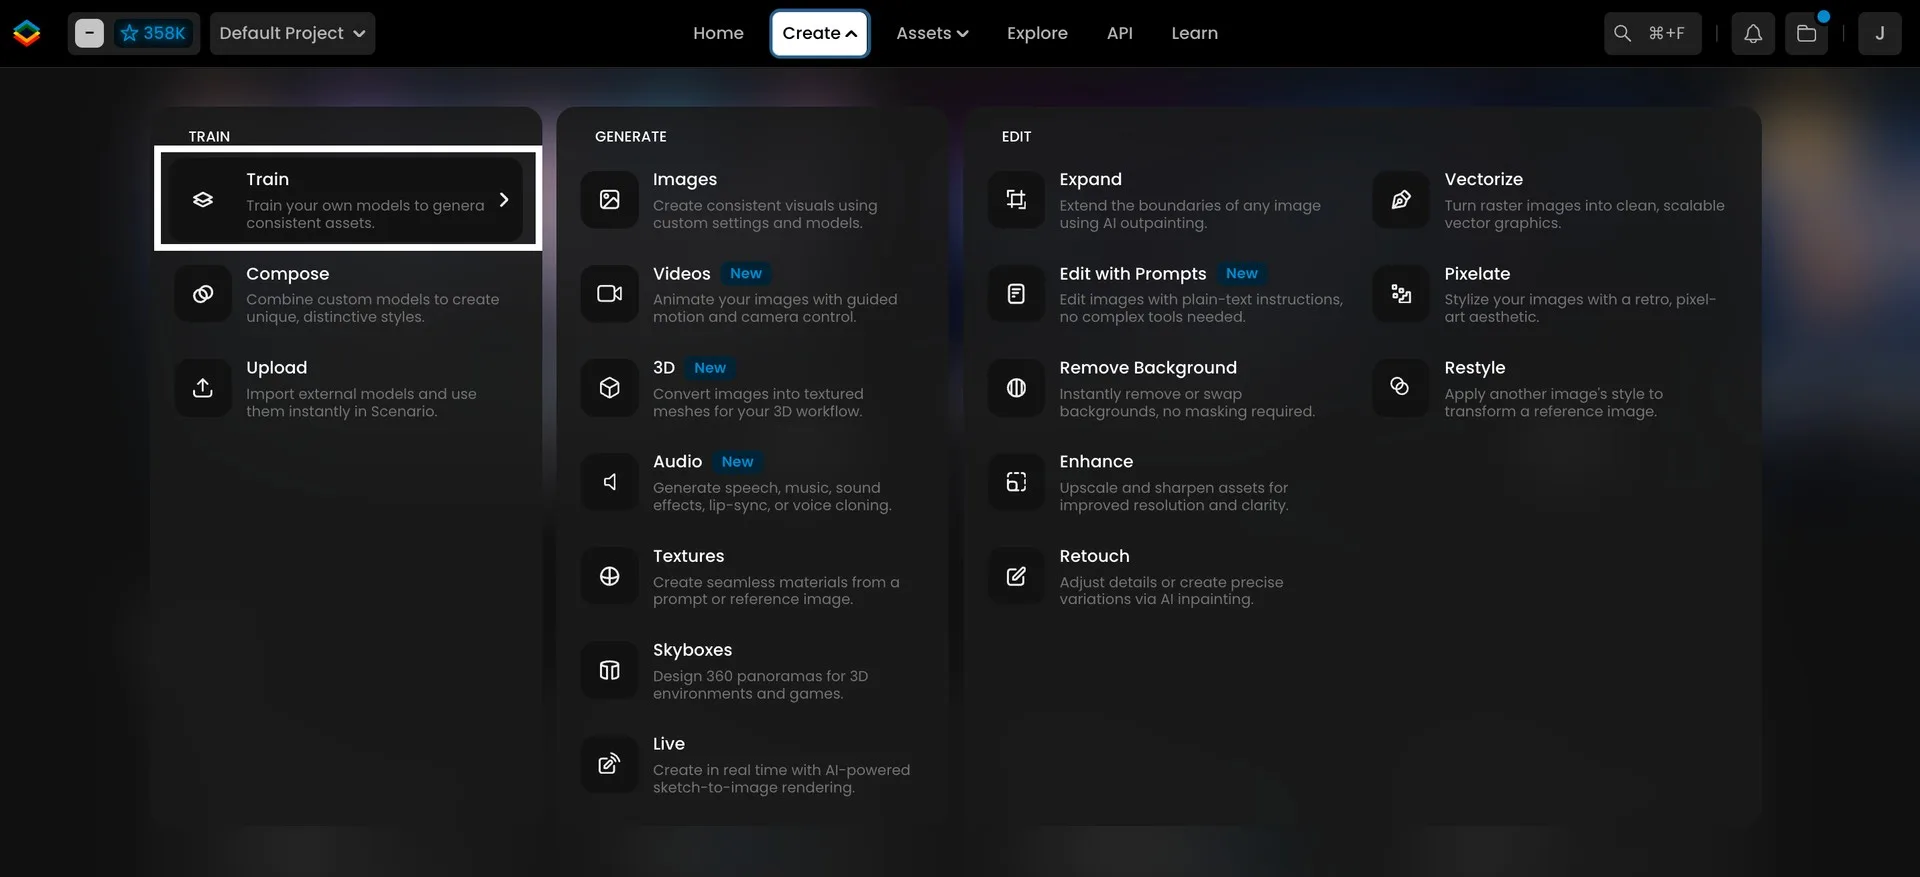
Scenario Interface Showing Where To Access Model Training
Use your model
Write a clear prompt that specifies your prefered output. You can also either generate a prompt from scratch or use Prompt Spark to refine your existing prompt.
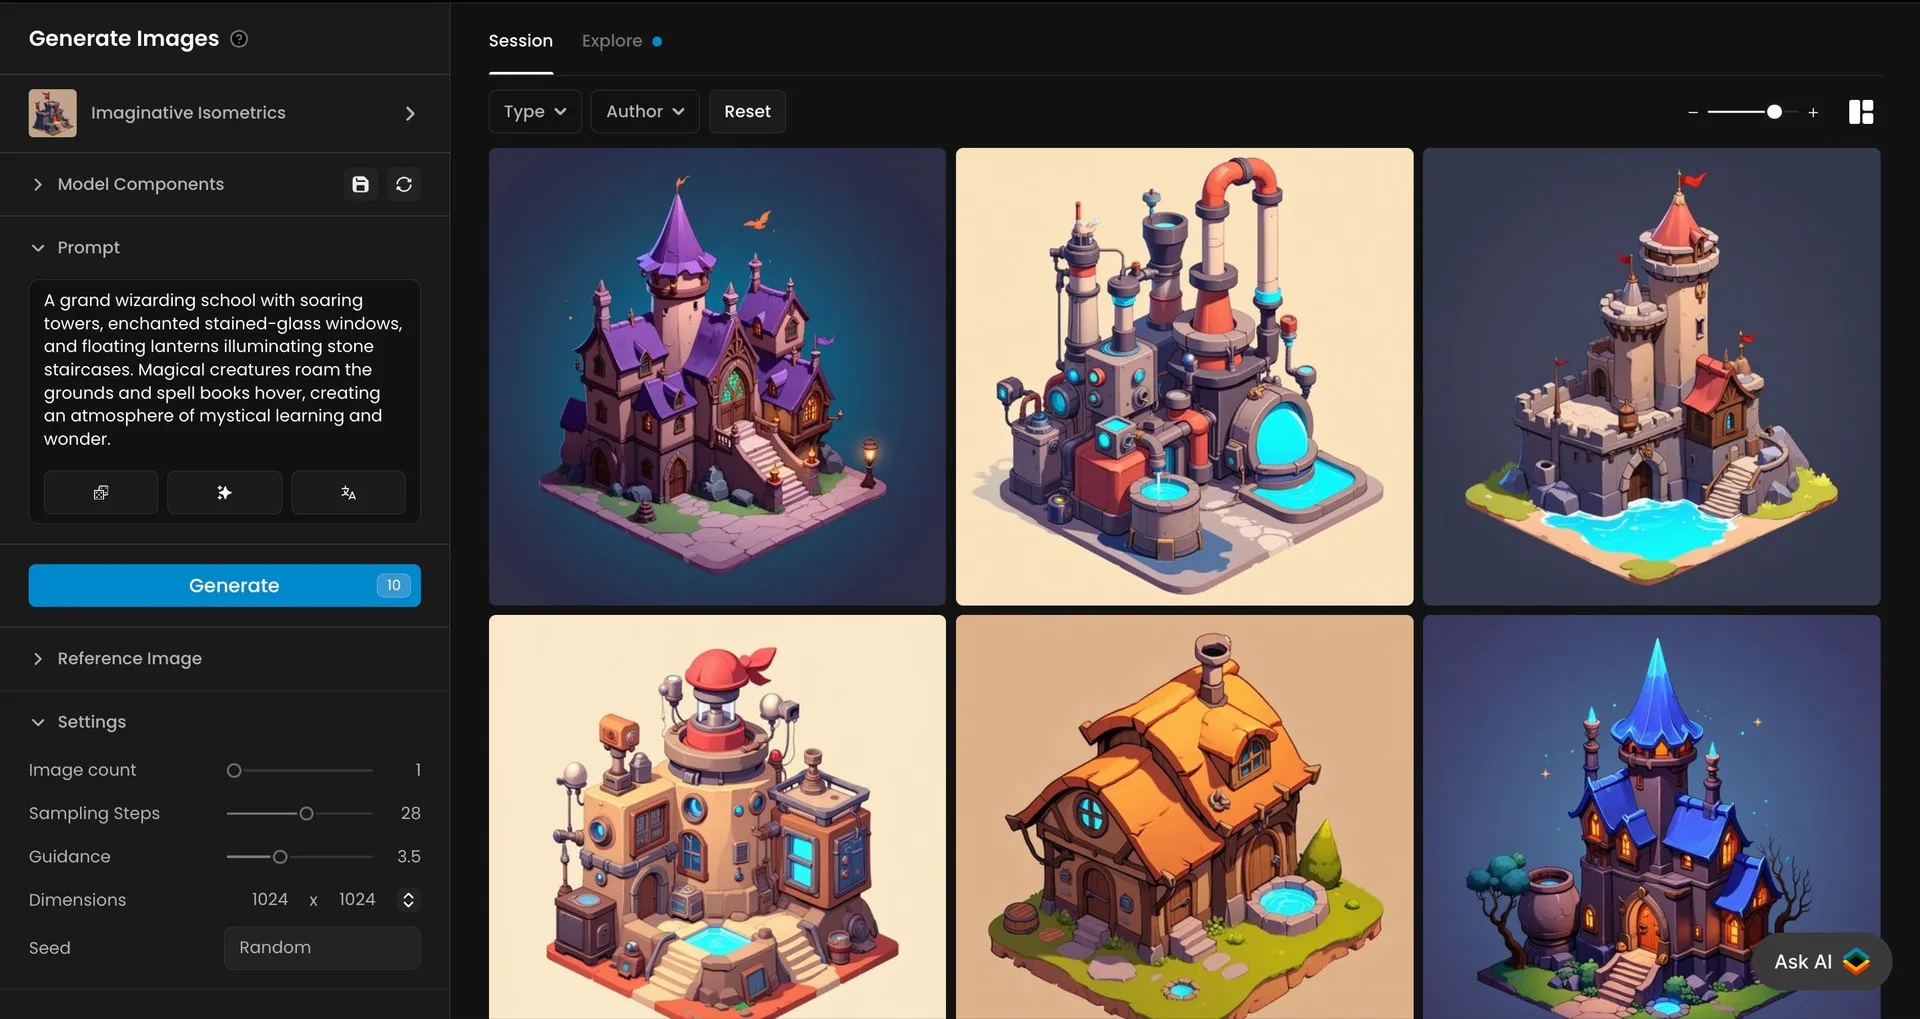
Isometric Buildings Generated With A Scenario Trained Model
Example starting prompt
“A grand wizarding school with soaring towers, enchanted stained-glass windows, and floating lanterns illuminating stone staircases. Magical creatures roam the grounds and spell books hover, creating an atmosphere of mystical learning and wonder.”
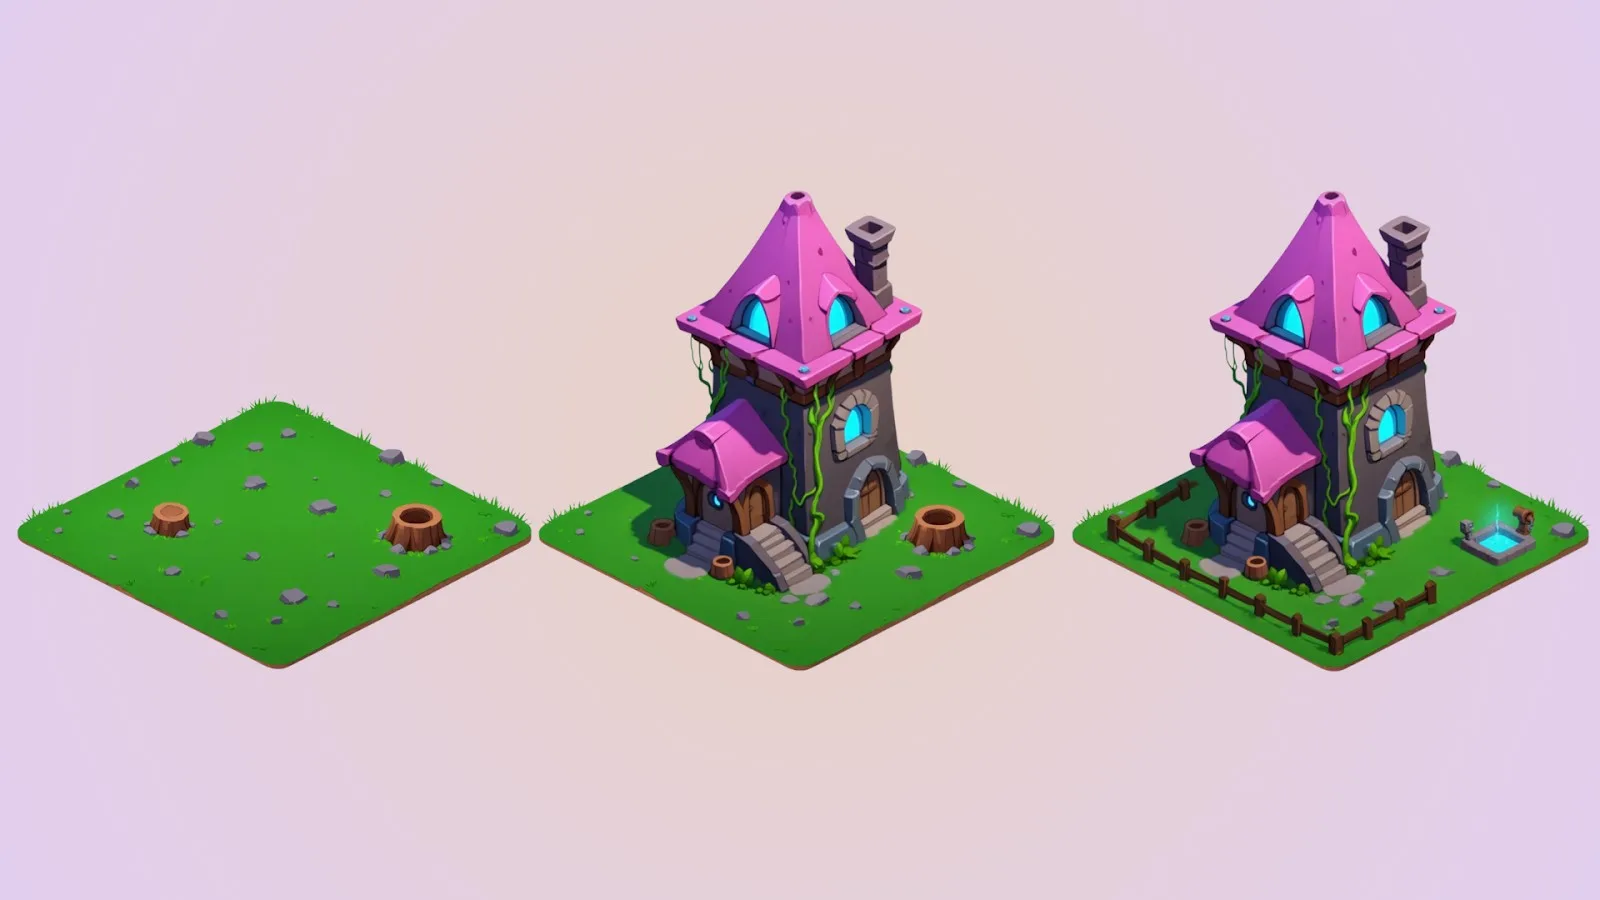
Workflow B: Create a tile from scratch with Inpainting
Select “Retouch” and Start in Canvas on a blank frame or drop in your grid. Rough‑sketch the base shape with the Sketch Tool and generate your first pass with Image‑to‑Image Influence set around 20–30. This gives you a clean base that follows your structure while adding texture and detail.
Build up structure on separate layers so your workflow stays non‑destructive. Add a layer for each part (ground, walls, roof, trims, props). For each element, mask the area you want to refine, set influence based on control needs (higher for precise structure, lower for creative exploration), then write a short, descriptive prompt and generate.
Refine with small, targeted passes. Use tight masks to add seams, edge logic, signage, or material swaps.
Watch our dedicated walkthrough:
Quick fixes
When you only need a local change, inpainting keeps the rest of the tile untouched. Mask a small area, give a clear instruction, and generate. This is ideal for recoloring a single roof face, cleaning a seam, swapping a material on one side of a wall, or removing a small element. Use Retouch, keep masks tight, and nudge Image‑to‑Image Influence up when you need closer adherence to the existing context.
Building an Isometric Tile Using Scenario Inpainting
Create variations with Edit with Prompts
If you want to make edits on existing tiles, use Edit with Prompts. Select a model suited to your style and control needs, such as Seedream 4, Flux Kontext, Gemini 2.5 (Nano Banana), or GPT‑Image.
Instructions example:
“Recolor this isometric building roof from purple to blue.”
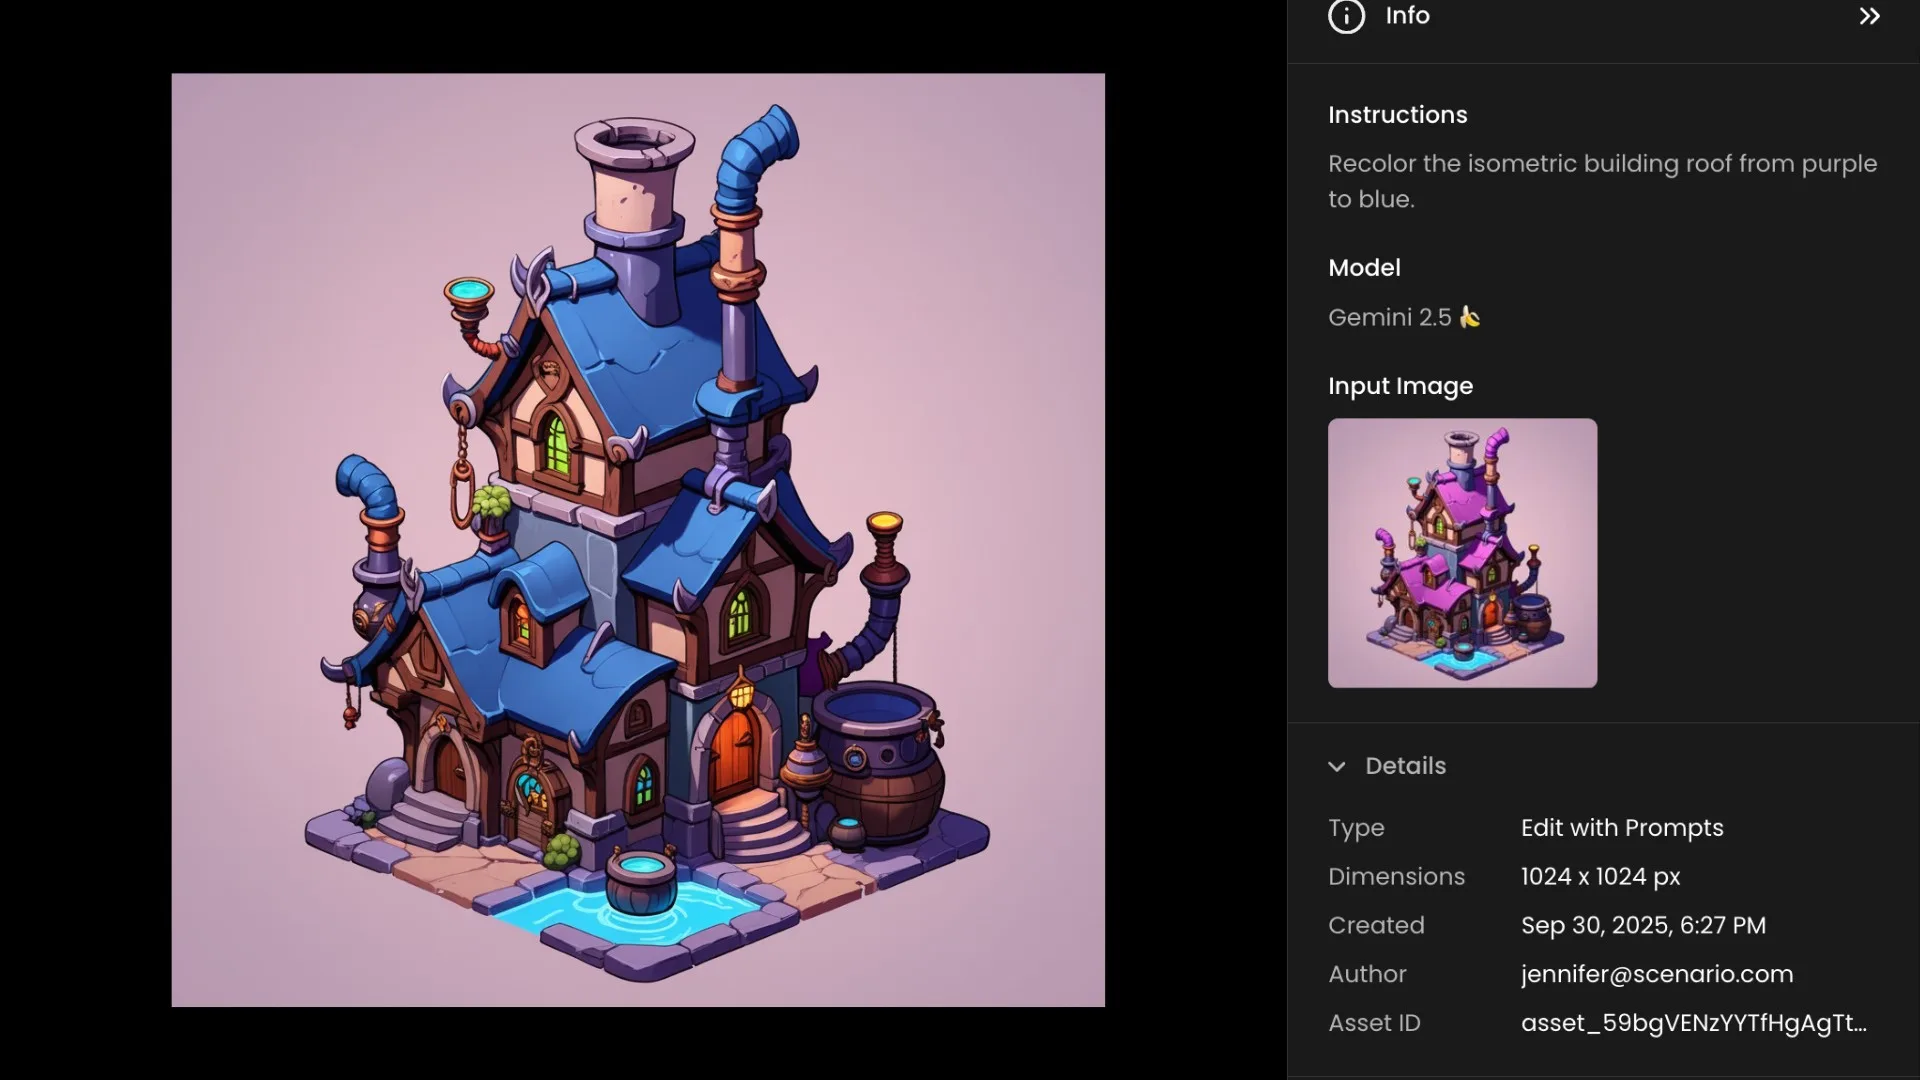
Isometric Building Roof Color Change with Edit with Prompts
Edit with Prompts can also scale beyond a single tile. Combine a realistic house photo or streetscape as a reference with a few on‑style examples to generate fully realized isometric concepts.
- Load a realistic house as your reference
- Provide additional images that share the same isometric style as your target set
- With Gemini 2.5 or Flux Kontext, use a direct instruction like: “Turn this photograph of this building into an isometric tile, matching the style of the provided images.”
Conclusions
By pairing custom‑trained models with inpainting and Edit with Prompts, you can move from slow, manual tile creation to fast, scalable production. The result: maps that read beautifully, tile cleanly, and ship sooner, without compromising your art direction.
Train a model in Scenario.
FAQs
Can I use this workflow just for small edits on existing tiles?
Yes. Use Inpainting or Edit with Prompts for targeted changes like recolors, edge cleanup, or adding surface detail. Simply pick a model aligned to your style and control needs.
How much training data do I need to start?
A focused set of 8–20 clean references is enough. Prioritize consistent perspective, lighting, and edge logic over quantity.
Can I mix AI output with hand‑painted polish?
Yes. Many teams ship fast by generating bases with Scenario, then adding manual polish for hero tiles and landmarks.
Any tips for writing better prompts?
Start simple, write what you want to see in your outputs, then use Prompt Spark to refine wording.