The making of / Material Worlds
One form.
Six material worlds.
Scenario generated the facility and its new color textures. A shared
silhouette makes every change in paint, patina and metal easy to
see.
Start with Scenario Texture, then follow the steps below. The recipe
includes the 15 recorded color prompts and their generation
settings.
01 / Form & geometry
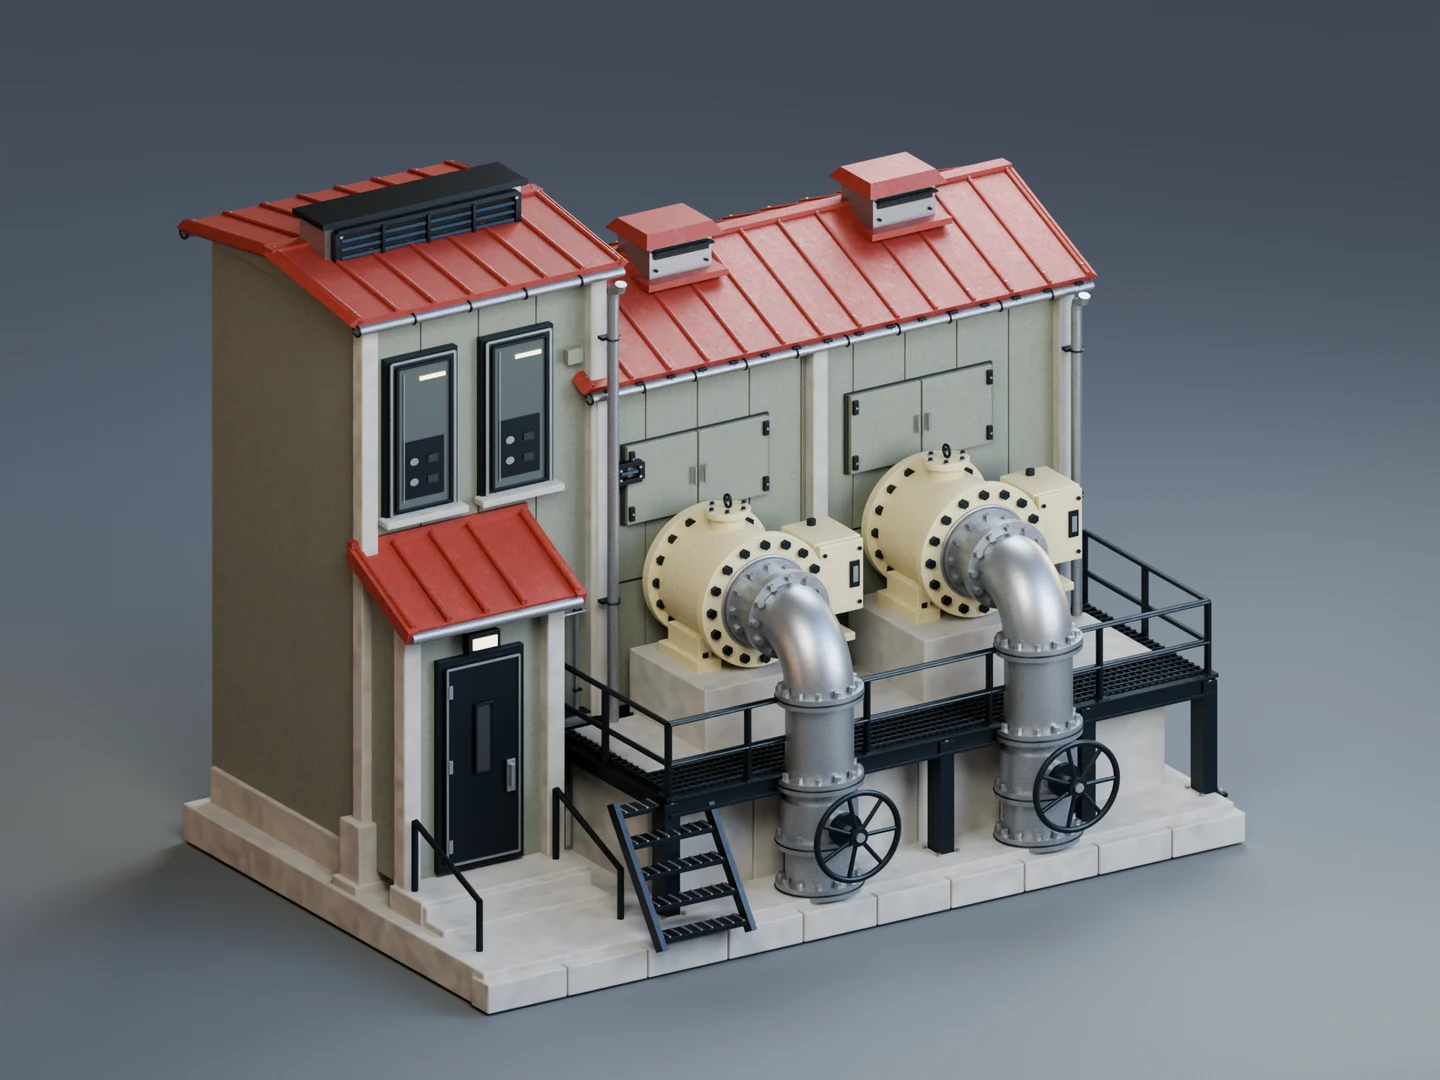
 Original Scenario facility
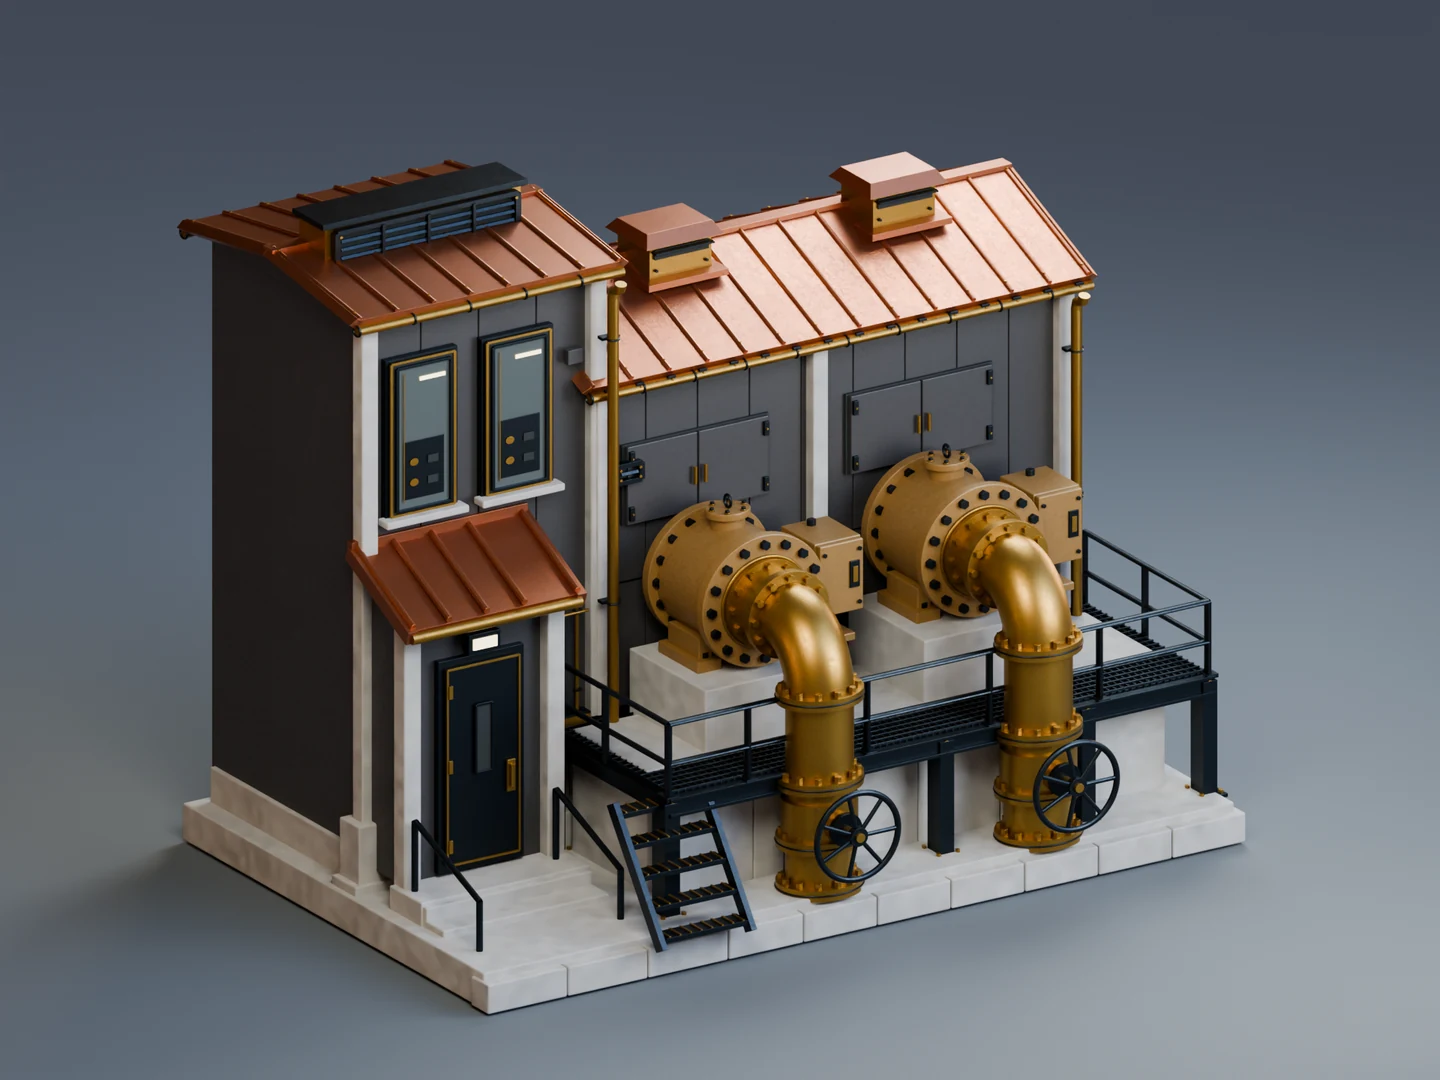 Copper District / same geometry
GPT-6 Astra 3D
The industrial facility began as a 3D asset generated in Scenario.
The material study keeps its geometry and UV layout, then reworks
three surface families: cladding, roofing and metal.
Open Astra 3D on Scenario ↗
Concrete, glass, lamps and recesses retain their original treatment.
The same building can read as a coastal foundry, a polar outpost or
a painted workshop.
02 / Color & direction
Write the surface.
Change the story.
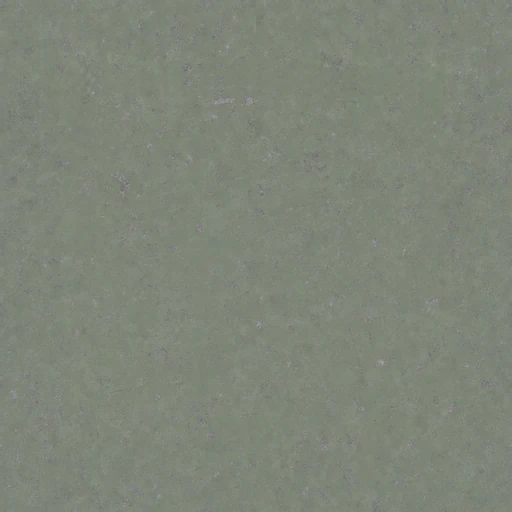 Cladding / sage enamel
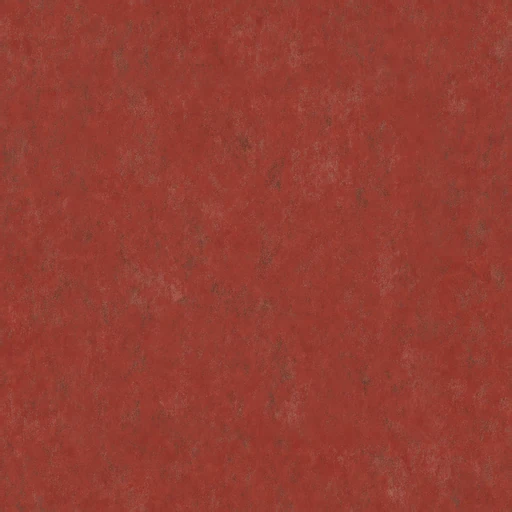 Roofing / oxide red
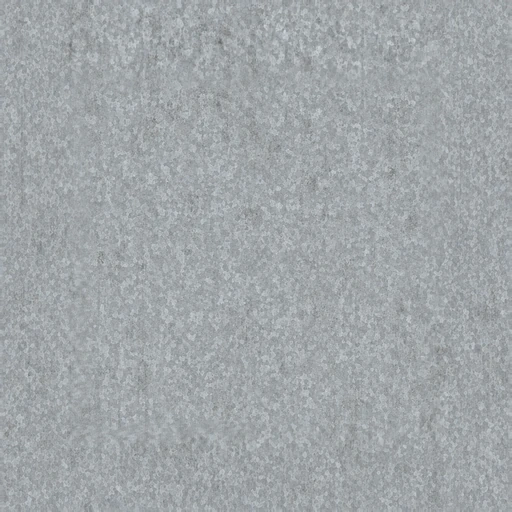 Metal / galvanized steel
Scenario Texture
Fifteen new color textures define the first five finishes. Each
prompt describes a flat, evenly lit material surface, with
seamless edges and no objects or baked shadows. The three textures
above belong to Heritage Works.
Open Scenario Texture ↗
An original prompt / Heritage Works cladding
Faded sage green industrial enamel paint, subtle fine scratches
and sparse worn flecks exposing grey primer, mottled sage surface,
restrained realistic aging. No panel borders, bolts or seams.
Orthographic flat surface scan, evenly lit albedo, seamless
tileable in both axes, edge-to-edge material only, no text or
baked shadows.
- Resolution
- 1024 × 1024
- Quality
- High
- Erase seam
- On
- Overlap / feather
- 128 / 64
Reload this prompt in Scenario
↗
Reloading requires access to the original project. The
downloadable recipe lets you reuse the prompt and settings in your
own project.
03 / Material & light
Color catches the eye.
Light reveals the surface.
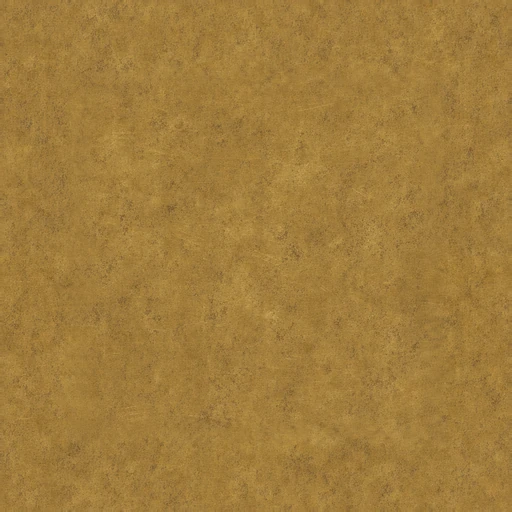 Color
Color
 Normal
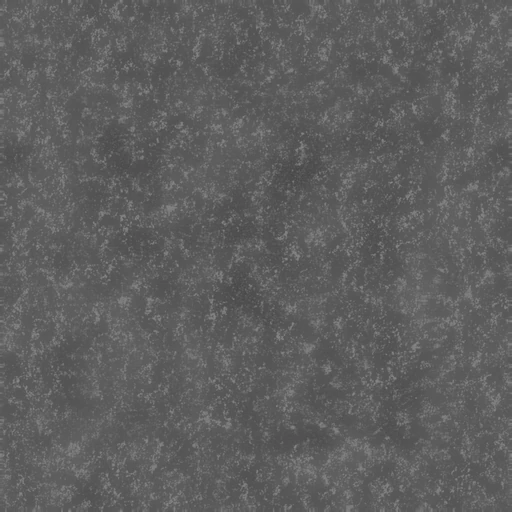 Roughness
 Metalness
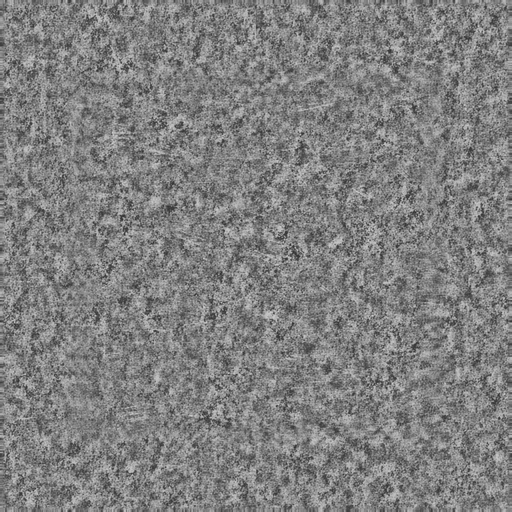 Height
These are the metal maps for Copper District. Scenario Texture
supplied the color. The normal, roughness, metalness and height maps
were authored locally to shape the material’s response to light.
Normal maps suggest fine bumps, roughness softens reflections, and
metalness distinguishes metal from paint. Height contributes to the
shading; it does not change the building’s geometry.
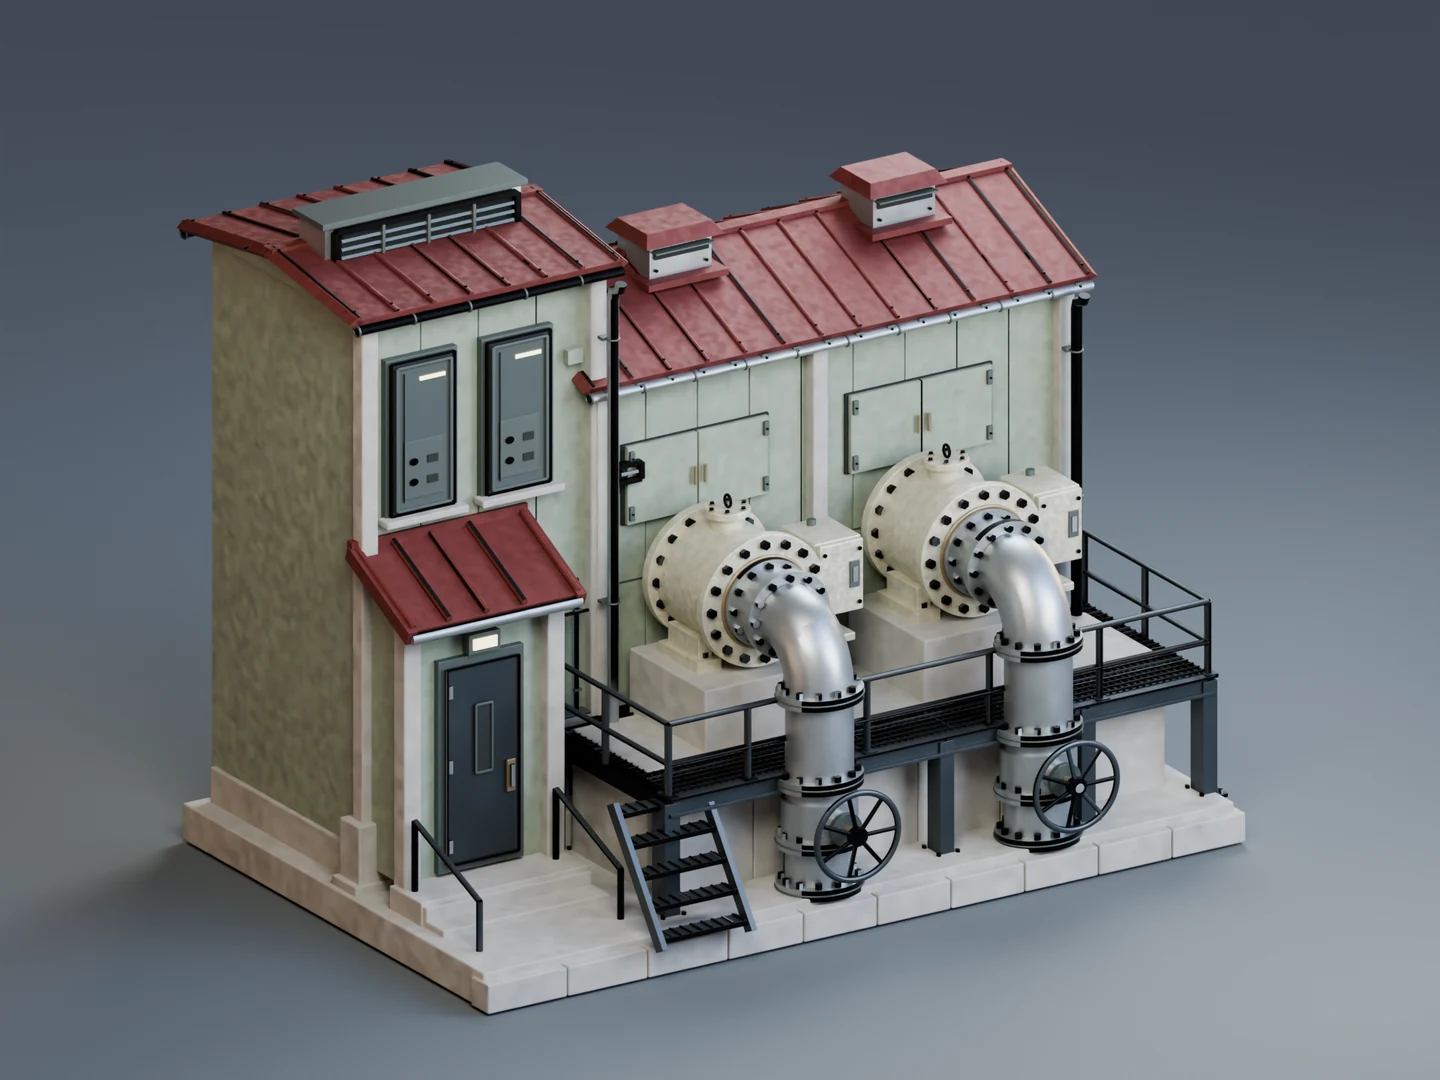
The retained Porcelain Lab finish
Porcelain Lab keeps the earlier study’s GPT color textures and
PATINA Image to Maps channels. It is the exception to the locally
authored supporting maps used in the other five finishes.
Explore PATINA ↗
04 / Compare & refine
Same camera.
A different sense of place.
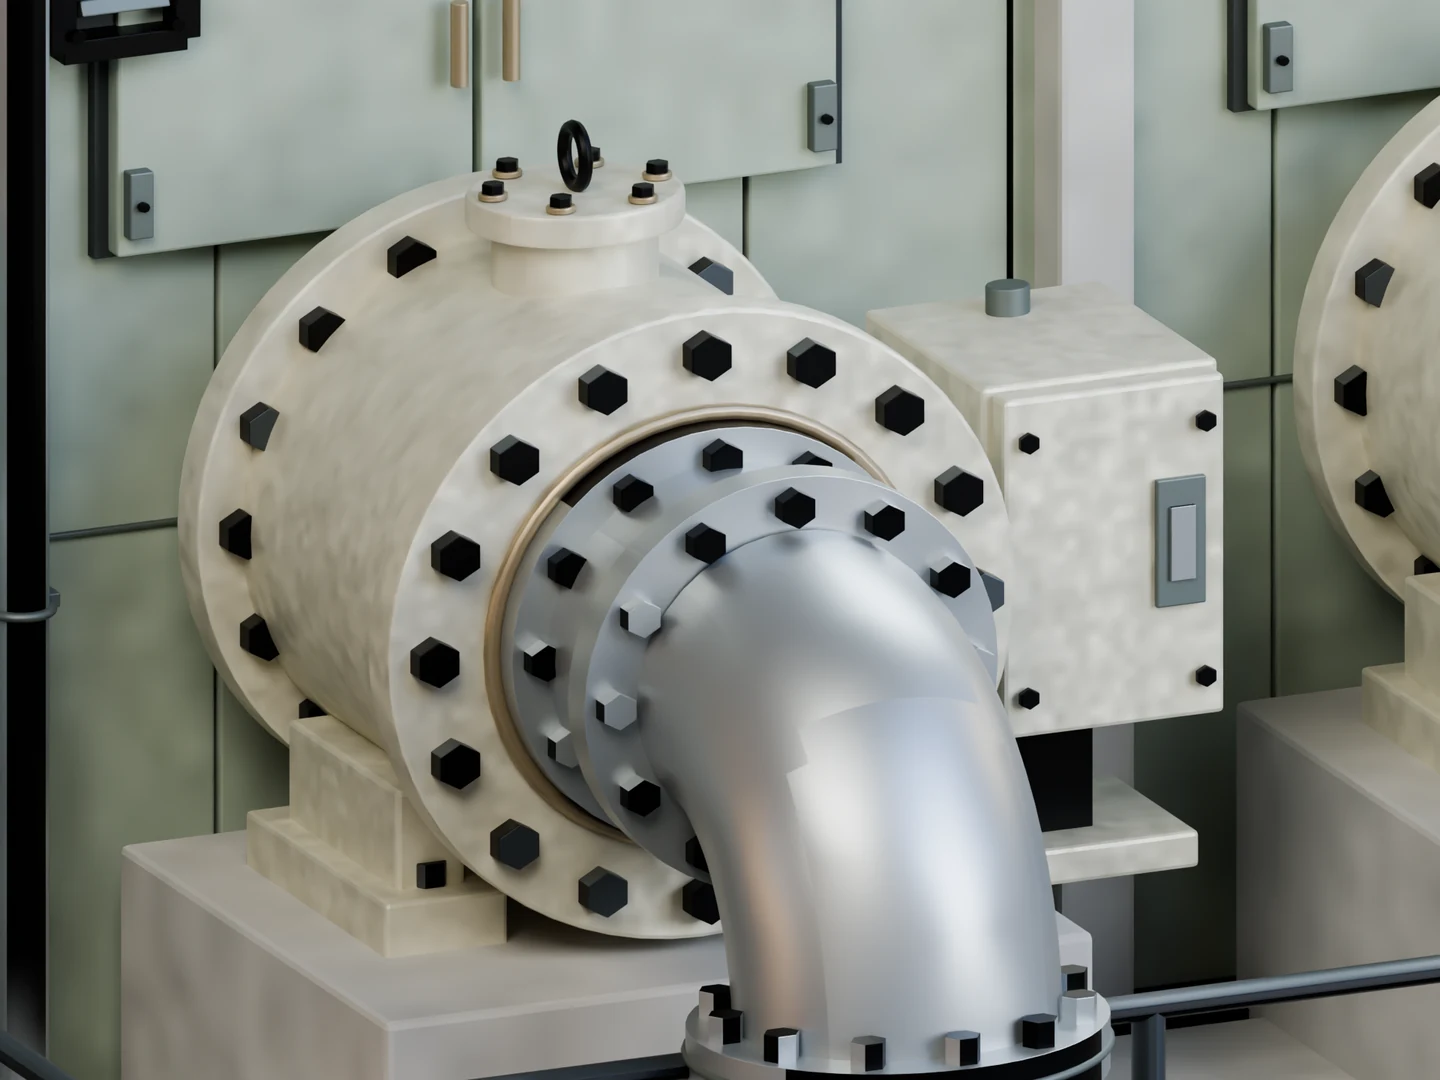 Original / Blender detail view
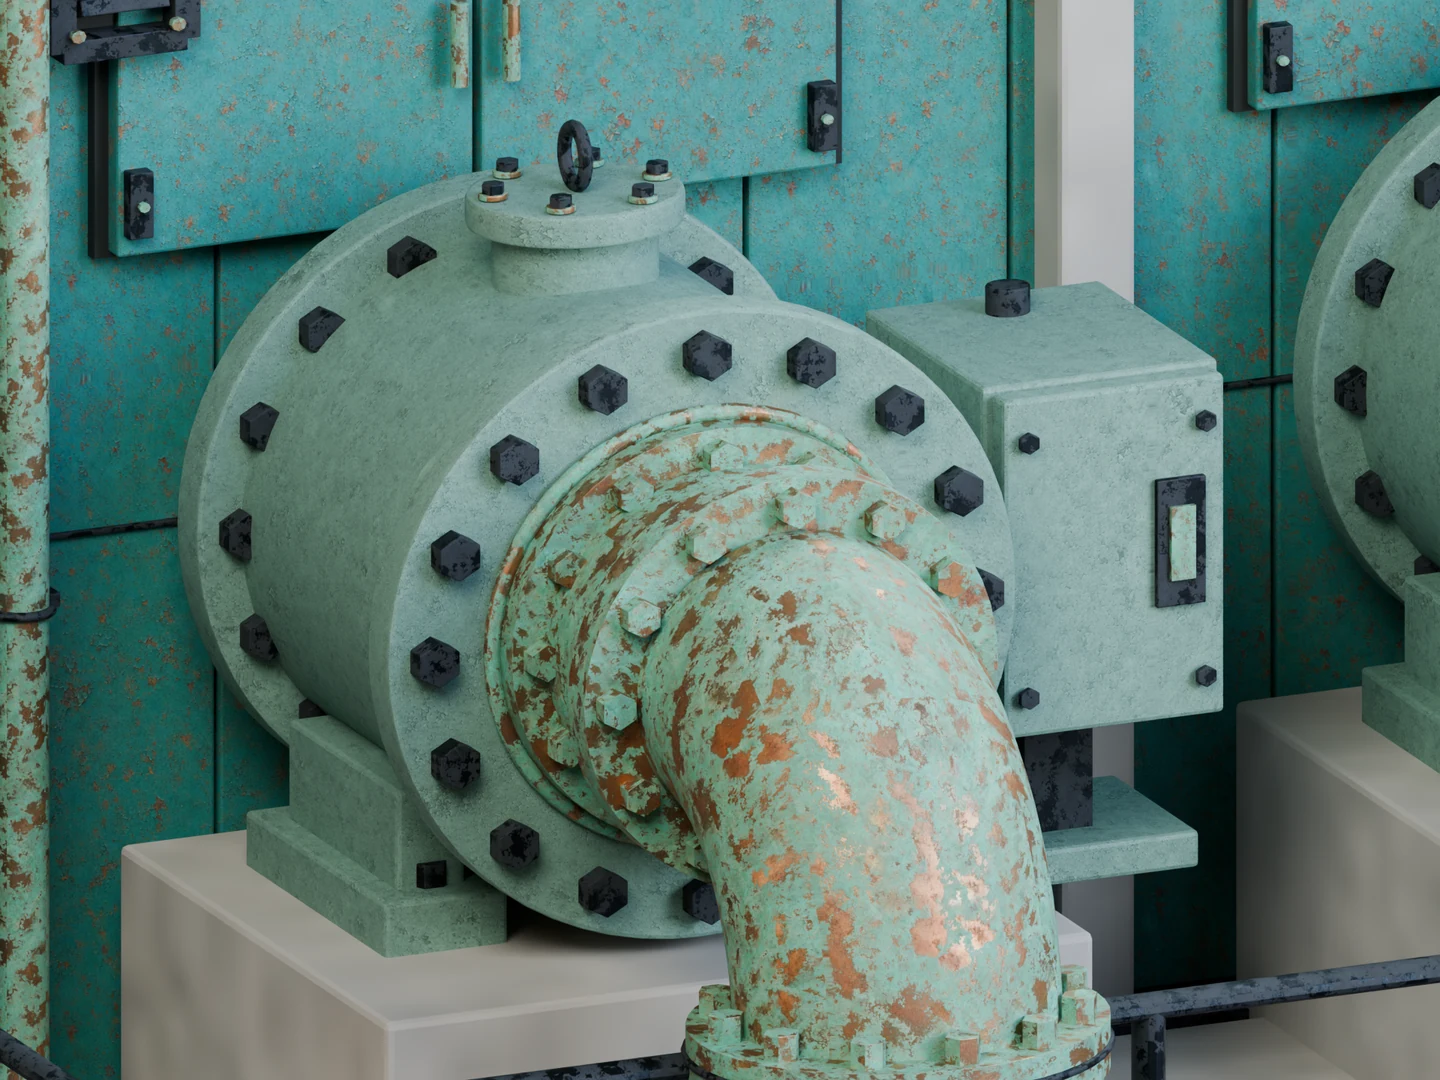 Tideworn Foundry / matching view
The source study compared finishes using matched Blender camera
views. Holding the subject and framing steady makes the change in
surface wear, color and reflection easier to judge.
The interactive studio brings that comparison into your hands:
inspect the pipework, sweep between the original and a new finish,
then change the light. Softbox, desert sun, neon night and moonlight
reveal different qualities of the same material.
The camera movement, lighting and material reveals were authored for
this browser experience. The images above are renders from the
source study.
05 / Make it your own
A prompt is a place
to begin.
Scenario MCP
The original study was directed through Scenario MCP. Its recorded
prompts, model IDs and generation settings are carried into the
texture explorer, connecting each material to its source.
Try changing one surface first: aged copper in place of steel, or
cobalt paint in place of sage enamel. Keep the camera and lighting
steady while you compare. Then build a palette for the rest of the
facility.
Porcelain Lab’s original prompts and jobs were not recorded in the
supplied study. The recipe keeps that gap explicit.