Lip Sync Made Easy: How To Animate A Character’s Dialogue in Scenario
Master the art of lip-sync animation with Scenario's AI-powered tools. This comprehensive guide shows how to create realistic character dialogue animations automatically, transforming hours of manual work into minutes of efficient production.
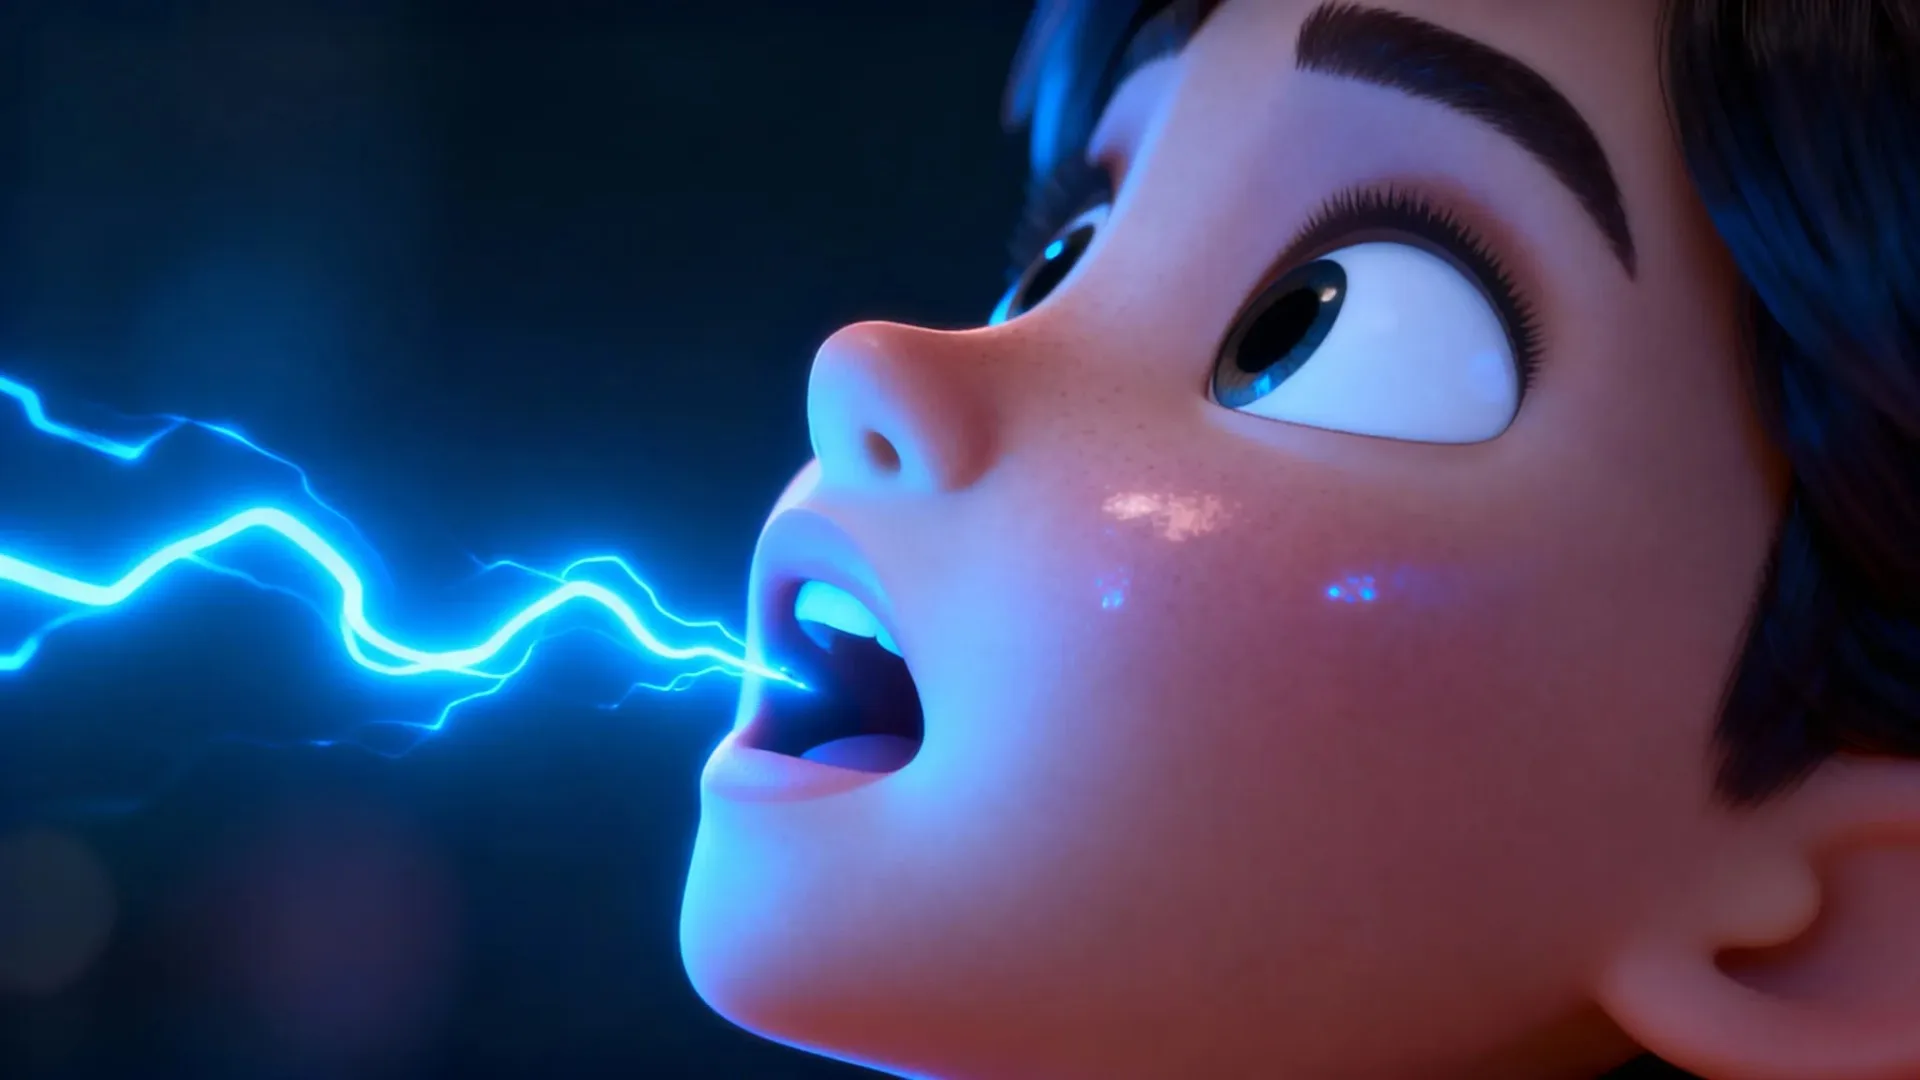
If you’ve ever wished your AI character could talk—without a motion-capture rig, a week of keyframing, or hours of cleanup—you’re not alone.
With Scenario’s lip-sync models, you can turn portraits, stylized art, or quick social clips into natural dialogue in minutes. The key is simple: start with a clean image, keep your takes short, and pick the right AI model for your style.
What Actually Works (from Real Use)
Different AI lip-sync models have different strengths. Choosing the right one saves hours of frustration:
- OmniHuman shines for expressive digital humans from a single image plus audio. If you want believable eye and mouth movement, start here.
- Pixverse Lipsync leans into art direction. Think stylized, cinematic, or painterly looks where realism isn’t the goal.
- Kling LipSync is the sprinter. Great for quick iterations and short lines when testing timing and tone.
- Sync Lipsync v2 is my go-to for re-dubbing existing footage while keeping identity consistent.
👉 Pro tip: run a 10–15 second test line on two models and compare mouth shapes on plosives (p/b), fricatives (f/v), and wide vowels (a/e). The “right” model will be obvious.
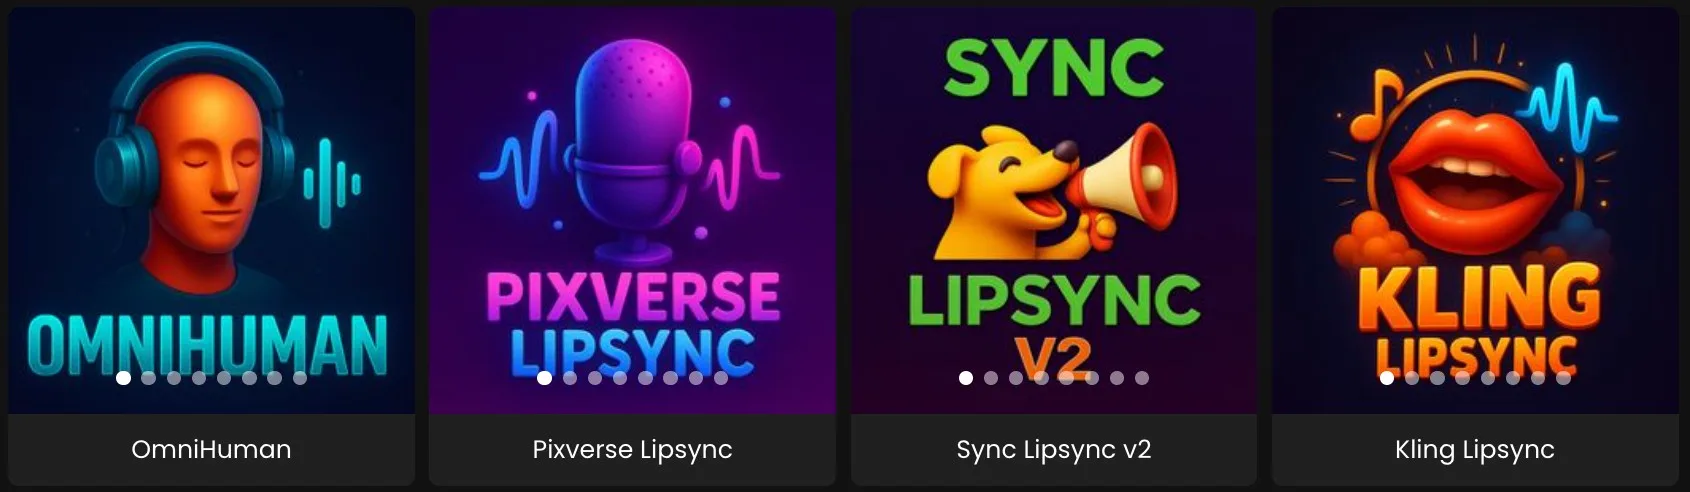
Lip sync video models available in Scenario: OmniHuman, Pixverse, Sync v2, and Kling.
Clean Inputs Beat Clever Settings
You don’t need a studio setup—just avoid the basics that break lip sync:
- Use a front-facing portrait or a steady shot with a clear view of the mouth.
- Even lighting beats fancy filters. Big shadows confuse lip shapes.
- Feed clean audio. If the VO isn’t ready, use text-to-speech to nail timing, then swap later.
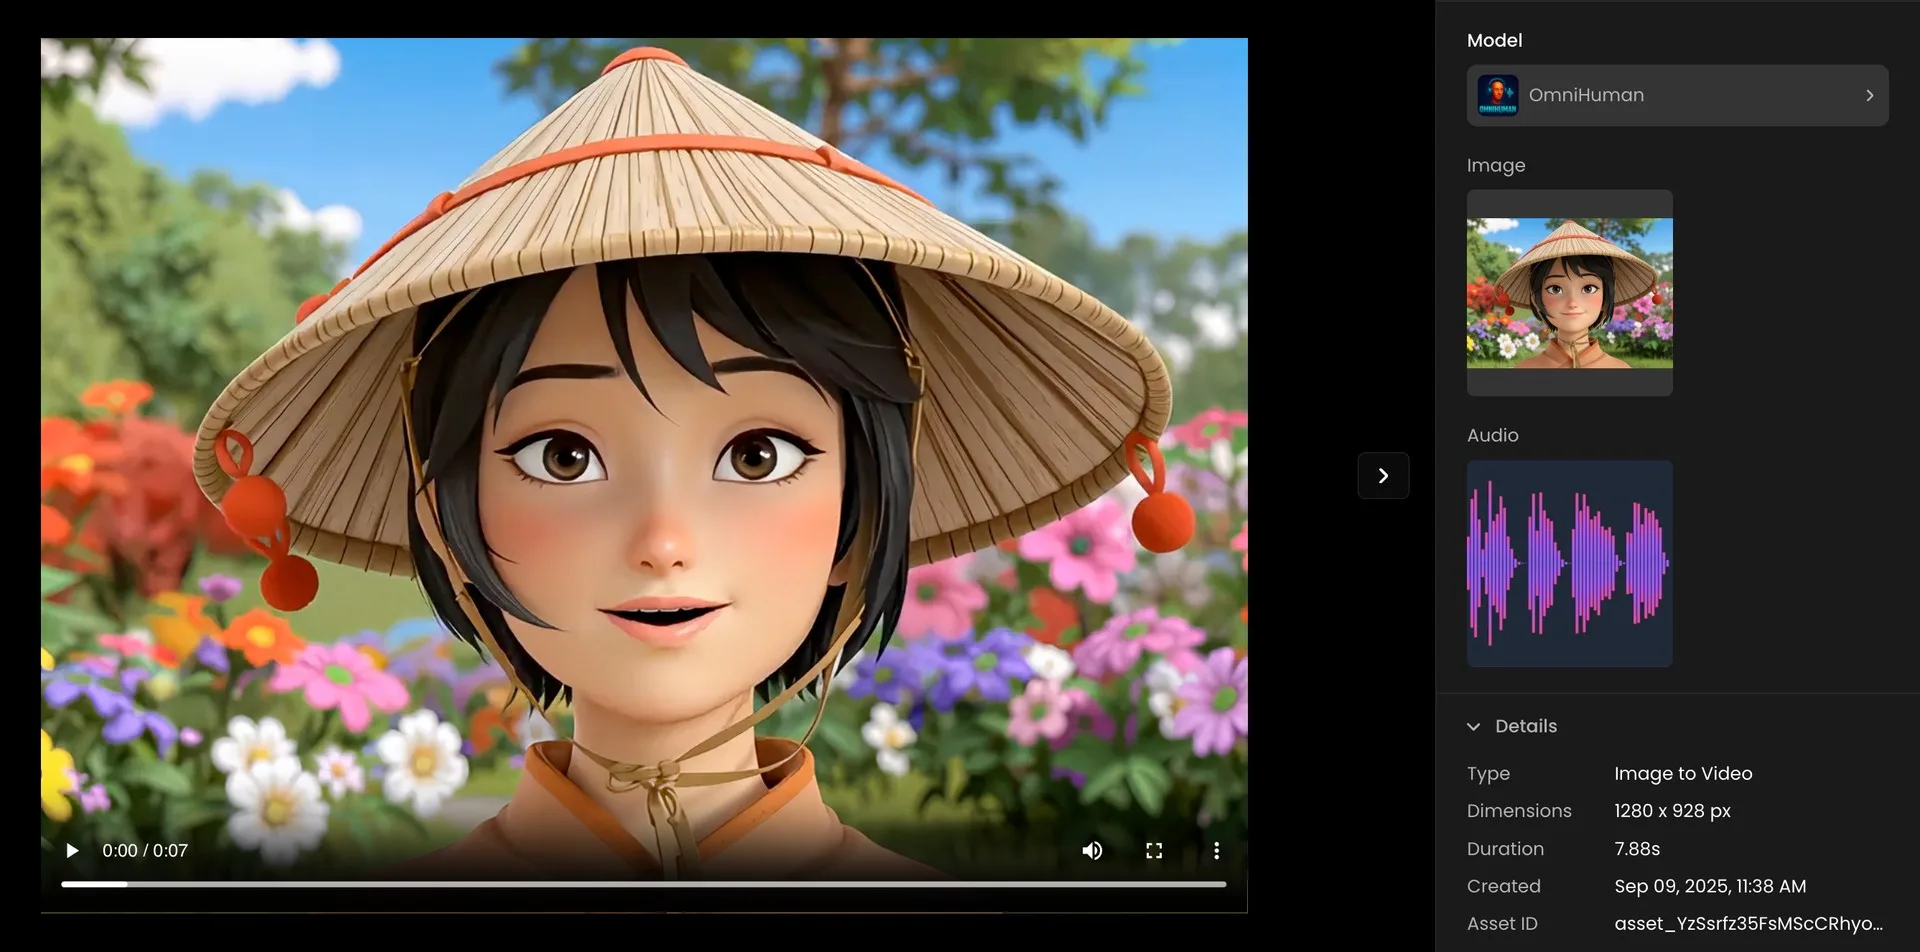
Scenario interface displaying the result of a lip sync workflow with a 3D character.
For Natural AI Lip-Sync Results
- Generate short takes, 10–20 seconds max. Smaller chunks = more control.
- Watch the mouth on “p, b, f, v, a, e.” If it looks muddy, adjust pose or lighting and rerun.
- Lock the take and move on. Don’t chase perfection on a single line.
You’ll get further, faster, by stacking solid takes than by over-tuning one clip.
Packaging Clips for Production
When a take is approved, three quick steps make it production-ready:
- Enhance lightly for sharpness and stability if the shot needs it.
- Export at the target resolution (1080p or Upscale to 4K to match the master).
- Reframe for various platform after approval (16:9, 9:16 or others). One master, many crops.
Why This Beats Manual Animation
It’s not just faster—it’s consistent. Once you find a model that fits your art direction, you can keep a steady look across episodes, cutscenes, or social snippets without a complicated pipeline. Less time wrestling with lip shapes means more time on performance and story.
Conclusion
If your character can face the camera and your audio is clean, you can get convincing dialogue in minutes. Start small, compare models on a single line, and keep takes short. The rest is just rhythm.
Ready to Make Your Characters Talk?
Bring your characters to life today. Pick a lip-sync model on Scenario and create your first speaking take in under 5 minutes: Start editing