Auto-Rig Any 3D Character in 30 Seconds: Uthana Character Rigging Is Now on Scenario
Rigging a 3D character manually means hours of joint placement, weight painting, and deformation testing. Uthana Character Rigging on Scenario does it automatically in under 30 seconds. Upload your mesh, get a skeleton back, start animating.
Rigging is the step that turns a 3D model into a 3D character.
Without a skeleton, a mesh is a static object. It looks right but cannot move. Adding a rig the traditional way means placing every joint manually, building the bone hierarchy, binding the skin, painting weights across the mesh, testing deformations, fixing what breaks, and iterating until the character moves without distorting. For a technical artist who does this every day, it takes hours. For a developer, an indie studio, or anyone without specialist rigging knowledge, it is one of the most friction-heavy steps in the entire 3D pipeline.
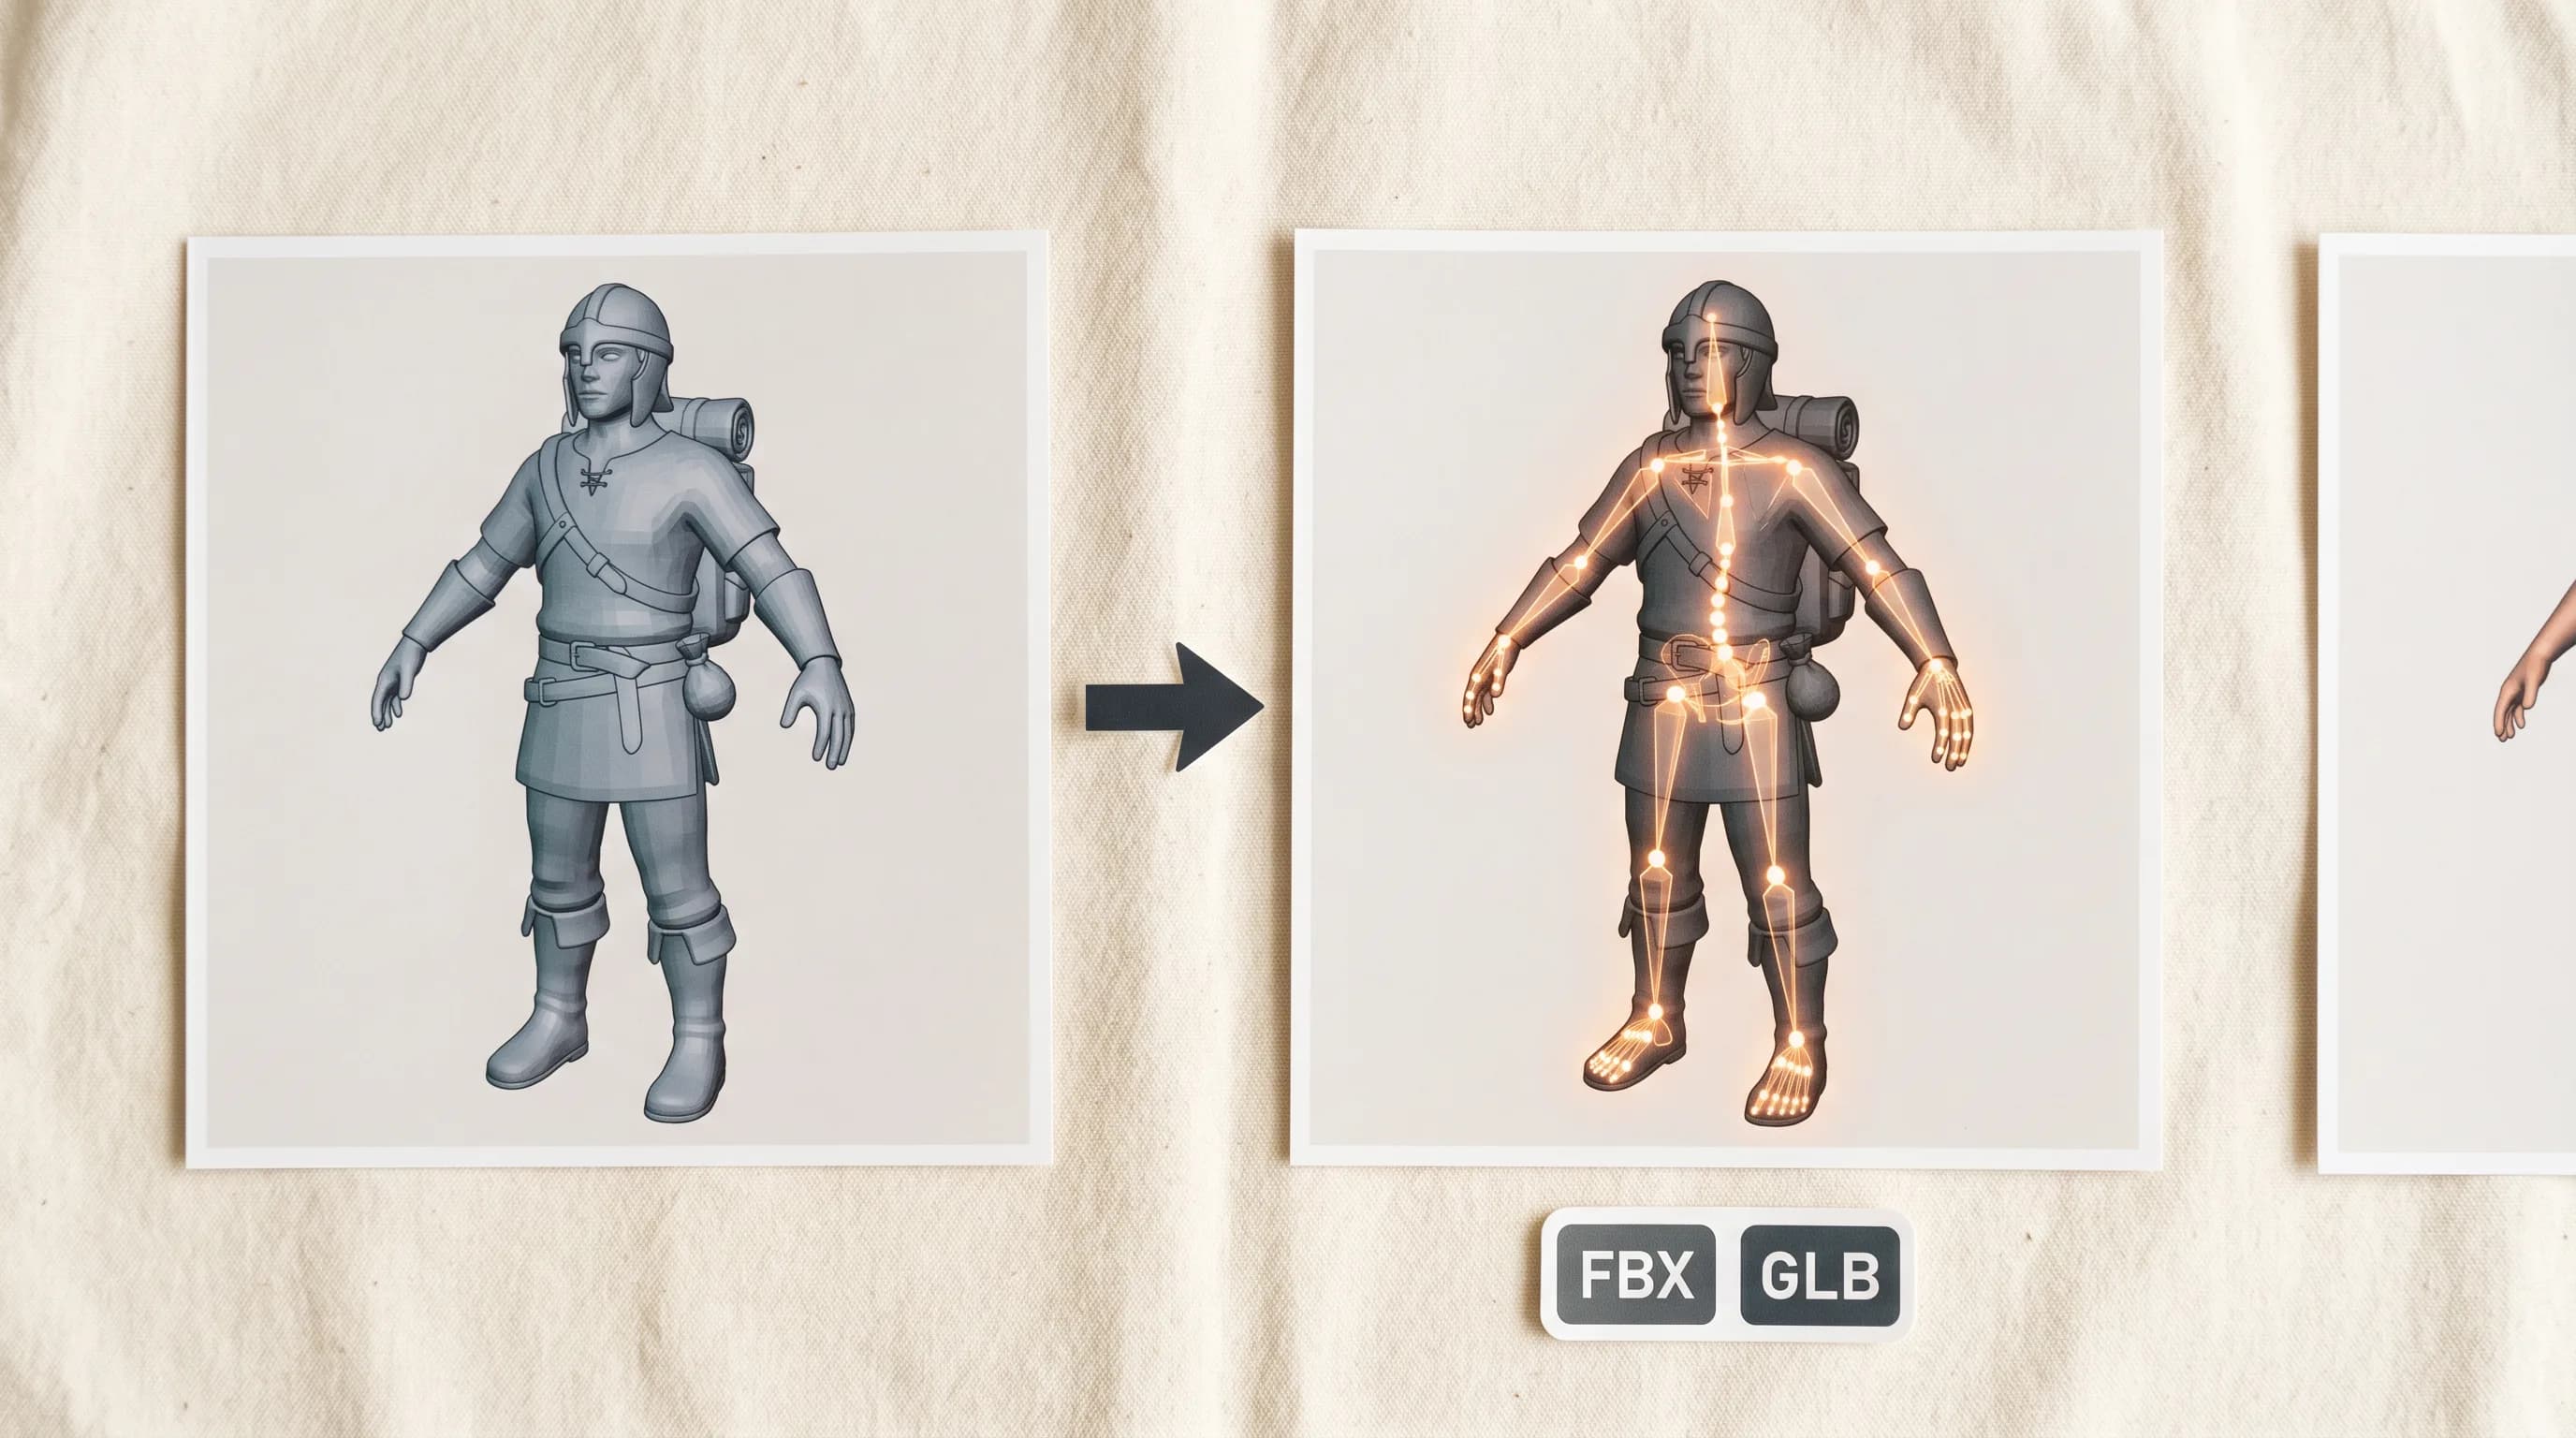
Uthana Character Rigging is now on Scenario. Upload your humanoid mesh and get back a fully rigged character with a complete skeleton and skin weights generated automatically.
What It Does and When to Use It
Uthana Character Rigging reads your mesh geometry and places a complete bipedal skeleton on it automatically. Bones are positioned to match the character's anatomy. Skin weights are generated alongside the skeleton.
It is worth being specific about when this tool is the right choice, because Uthana Text-to-Motion and Uthana Video-to-Motion both auto-rig your character on the fly when you upload a mesh during generation. If you are going straight from mesh to animated output, you can skip this step and rig and animate in one job on those models.
Character Rigging is the right path when you want the skeleton first, before motion. When you need to inspect the bone placement, make adjustments in your DCC, reuse the same rig across multiple motion passes, or keep mesh prep and animation as separate steps in your pipeline. Both approaches are valid. This one gives you the rig as a standalone deliverable.
How to Use It on Scenario
Step 1: Prepare your mesh
Your character needs to be in OBJ, GLB, or FBX format. Place it in a T-pose or A-pose with feet on the ground so the auto-rigger can read the shoulder line, hips, and spine cleanly.
Humanoid proportions work best. Quadrupeds, creatures with non-standard limb structures, and props welded as limbs are outside what this model targets.
Do not have a mesh yet? Generate one on Scenario using Hunyuan3D 3.1, Tripo 3.1, or any 3D generation model in the library. Start from a character concept, convert it to a 3D mesh, then bring it into Character Rigging.
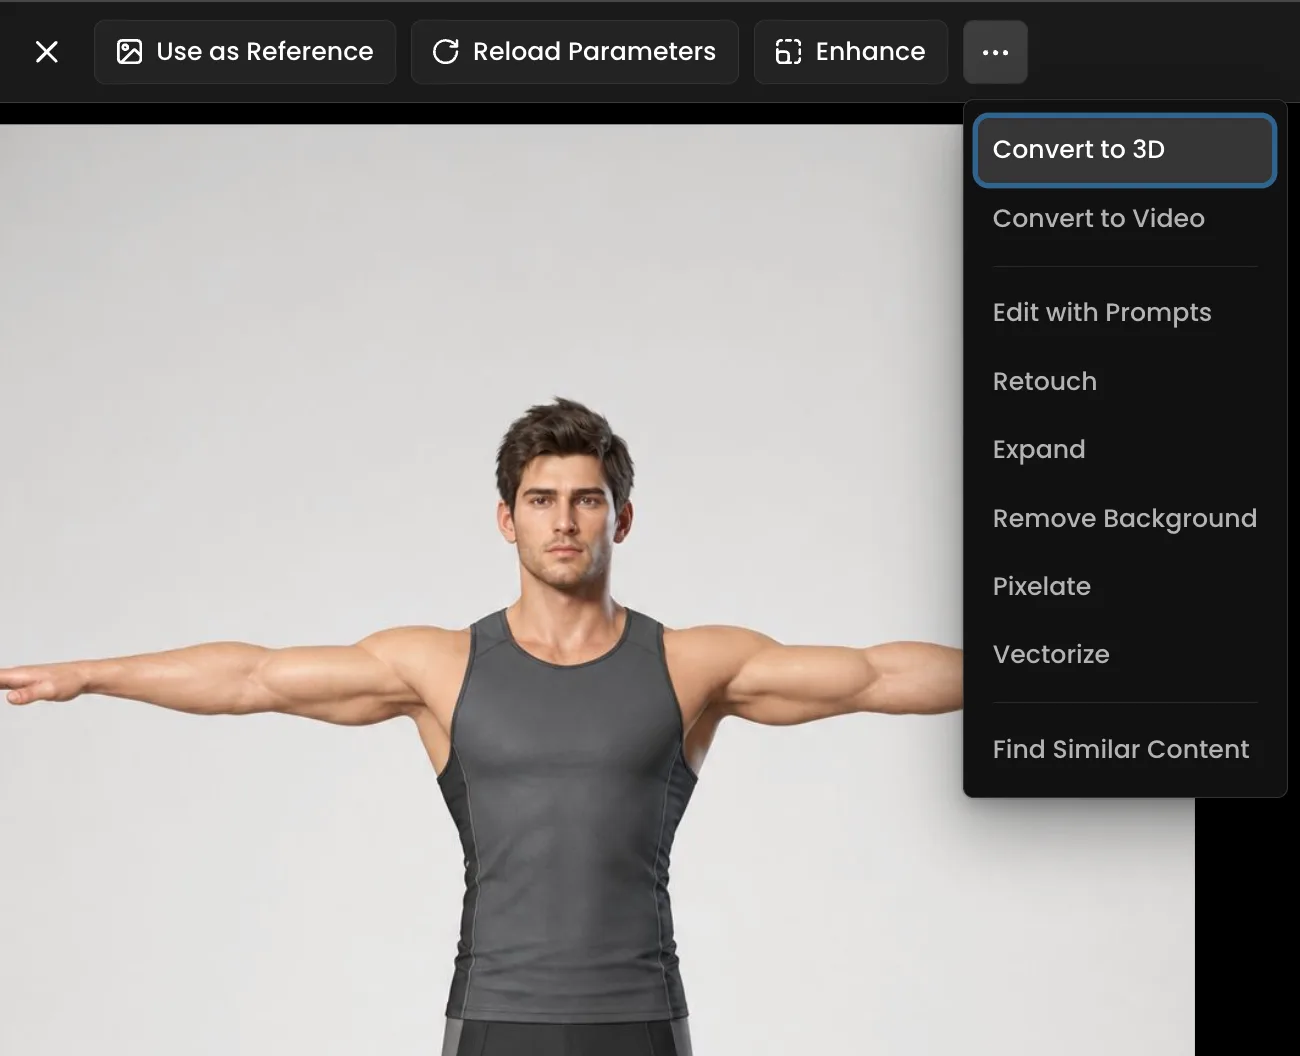
Step 2: Upload and configure
Go to Uthana Character Rigging in Scenario. Upload your 3D asset.
Front Facing: Leave this on when your mesh faces forward like a standard character turnaround. Turn it off if the bind pose is rotated and you want the solver to interpret that orientation directly. For most humanoid characters in T-pose or A-pose, leave it on. It improves joint placement accuracy and deformation quality significantly.
Step 3: Generate
Hit Generate. Uthana analyzes the geometry and places a complete bipedal skeleton in under 30 seconds. The rigged character appears ready to use.
Step 4: Animate or take it into your pipeline
From here you have two paths.
Stay in Scenario and animate immediately. The rigged character works directly with Uthana Video-to-Motion and Uthana Text-to-Motion. Generate a walk cycle from a text description and it plays on your character within seconds of the rig completing. Upload a reference video and the extracted motion retargets to your skeleton automatically.
Or download the rigged OBJ, FBX or GLB and take it into your own DCC. In Maya or Blender you can inspect the bone placement, add custom controls on top of the auto-rig, or use it as a fast first-pass skeleton you refine further. In Unity or Unreal it imports as a standard humanoid rig ready for your animation system.
The Full Character Pipeline on Scenario
Uthana Character Rigging sits at the centre of a complete character production workflow that runs entirely inside Scenario.
Generate a character concept with GPT Image 2. Convert it to a 3D mesh with Hunyuan3D 3.1. Run it through Uthana Character Rigging to add the skeleton. Animate it with Uthana Video-to-Motion from a reference clip or Uthana Text-to-Motion from a text description.
Concept to animated, game-ready character. One platform.
Try Uthana Character Rigging on Scenario.
FAQ
What file formats does Uthana Character Rigging accept? OBJ, GLB, and FBX. Your character should be in a T-pose or A-pose with feet planted on the ground for best results.
What is the file size limit? 30MB maximum. High-resolution exports from image-to-3D tools often exceed this. Decimate or re-export at a lower poly count before uploading if needed.
What kinds of characters work with auto-rigging? Any bipedal humanoid mesh: realistic humans, stylized characters, exaggerated proportions, cartoon figures. The character needs a standard humanoid joint structure: two arms, two legs, a spine, and a head. Quadrupeds and non-humanoid creatures are not currently supported.
How is Character Rigging different from uploading a mesh on Text-to-Motion or Video-to-Motion? Text-to-Motion and Video-to-Motion auto-rig your character on the fly during generation if you upload a mesh. Character Rigging is the standalone path when you want the skeleton as a separate deliverable first: to inspect bone placement, make adjustments in your DCC, or reuse the same rig across multiple motion passes.
Is auto-rigging available through the Scenario API? Yes. Character upload and auto-rigging are available programmatically, which is useful for batch-rigging multiple characters or building auto-rigging into internal studio tools.